Mastering the Art of Deep Cleaning Hardwood Floors: A Step-by-Step Guide
Introduction
Hardwood floors are not only beautiful but also durable, making them a popular choice for many homeowners. However, maintaining their pristine condition requires more than just a quick sweep and mop. Deep cleaning hardwood floors is essential to remove built-up dirt, grime, and stains that regular maintenance might miss. Proper deep cleaning can extend the life of your hardwood floors and keep them looking their best for years to come. In this guide, we will walk you through the process step by step, ensuring you achieve a spotless finish.
Understanding the Basics
Before diving into the deep cleaning process, it’s important to understand the basic principles of hardwood floor care. Hardwood floors are sensitive to water and chemicals, so it’s crucial to use the right products and techniques to avoid damage. Here are some key points to keep in mind:
Types of Hardwood Floors
Not all hardwood floors are created equal. Some are solid wood, while others are engineered. Solid hardwood is more durable and can be refinished multiple times, whereas engineered hardwood has a top layer of real wood over a plywood core. Knowing the type of flooring you have will help you choose the appropriate cleaning methods and products.
The Importance of Regular Maintenance
Regular maintenance is the first line of defense against dirt and wear. Sweeping or vacuuming with a soft-bristled attachment should be done daily to prevent dust and debris from scratching the surface. Mopping with a gentle solution once a week can also help maintain the shine and protect the finish.
Tools and Products You’ll Need
Equipping yourself with the right tools and products is crucial for effective deep cleaning. Here’s what you’ll need:
Cleaning Solutions
Avoid using harsh chemicals like ammonia or bleach, as they can damage the finish and discolor the wood. Instead, opt for a pH-neutral cleaner specifically designed for hardwood floors. You can also make a DIY solution using distilled water and a few drops of dish soap.
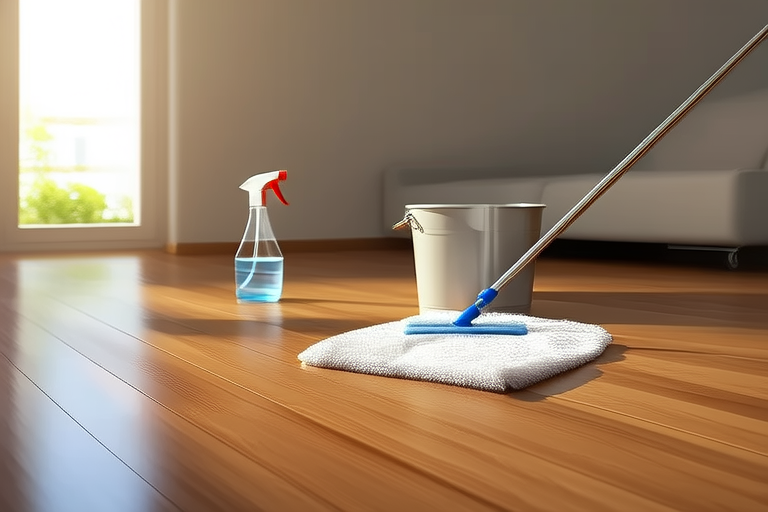
Microfiber Mops and Cloths
Microfiber mops and cloths are highly recommended for deep cleaning because they are gentle on the surface and can trap dirt and dust effectively. Avoid using abrasive sponges or brushes that could scratch the wood.
Steam Mop (Optional)
A steam mop can be an excellent tool for deep cleaning if you have a model suitable for hardwood floors. It uses hot steam to loosen dirt and sanitize the surface without leaving behind excess water.
Baking Soda and Vinegar
These natural ingredients can be used to tackle tough stains and odors. Baking soda is great for scrubbing away stubborn spots, while vinegar can help break down grease and grime.
Step-by-Step Deep Cleaning Process
Now that you’re equipped with the necessary tools and products, let’s dive into the deep cleaning process. Follow these steps carefully to ensure your hardwood floors come out sparkling clean.
Step 1: Preparation
Before you start cleaning, make sure the room is free of furniture and other obstacles. If moving furniture is not an option, cover it with drop cloths to protect both the furniture and the floor. Sweep or vacuum the entire area to remove loose dirt and debris.
Step 2: Apply Cleaning Solution
Mix your chosen cleaning solution according to the manufacturer’s instructions. Pour the solution into a bucket and dip your microfiber mop into it. Wring out the mop thoroughly to avoid any standing water on the floor. Mop the floor section by section, working in the direction of the wood grain.
Step 3: Address Stubborn Stains
For stubborn stains, apply a small amount of baking soda directly to the stain and gently scrub with a microfiber cloth. For oil-based stains, mix equal parts water and white vinegar and apply to the affected area. Let it sit for a few minutes before wiping it off with a damp cloth.
Step 4: Dry the Floor
After mopping, dry the floor immediately with a clean, dry microfiber cloth to prevent water spots and streaks. This step is crucial, especially if you used a steam mop, as excess moisture can lead to warping or discoloration.
Step 5: Buff and Polish
Once the floor is completely dry, buff it with a soft cloth to restore its shine. You can also apply a hardwood floor polish or wax to enhance the finish and provide additional protection.
Practical Tips and Real-Life Examples
Deep cleaning hardwood floors can be a rewarding experience, but it’s important to approach it with care and precision. Here are some practical tips and real-life examples to help you succeed:
Tip 1: Test New Products First
Always test any new cleaning product on a small, inconspicuous area of your floor before applying it to the entire surface. This will help you identify any potential reactions or damage.
Tip 2: Maintain Proper Ventilation
Ensure the room is well-ventilated during the cleaning process, especially if you’re using a steam mop or strong-smelling solutions. This will help dissipate any fumes and improve air quality.
Case Study: Reviving an Old Hardwood Floor
One of our readers shared her experience reviving an old hardwood floor that had been neglected for years. After following our deep cleaning guide, she was amazed at how much better the floor looked. She emphasized the importance of drying the floor thoroughly and applying a protective coat afterward.
Conclusion
Deep cleaning hardwood floors is a vital part of maintaining their beauty and longevity. By understanding the basics, using the right tools and products, and following a step-by-step process, you can achieve stunning results. Remember to always test new products, maintain proper ventilation, and take the time to dry and polish the floor after cleaning. With consistent care and attention, your hardwood floors will remain a centerpiece of your home for years to come.
- Actionable Steps:
- Prepare the room by removing furniture and sweeping the floor.
- Apply a pH-neutral cleaning solution and mop the floor.
- Address any stubborn stains with baking soda or vinegar.
- Dry the floor thoroughly to prevent water damage.
- Buff and polish the floor to restore its shine.
By incorporating these steps into your routine, you’ll not only enjoy cleaner floors but also extend their lifespan. Happy cleaning!